![]()

|
| |
|
||
| Has your Dynalink RTA1320 ADSL 2+ modem gone crazy all of a sudden? How I fixed my Dynalink modem.
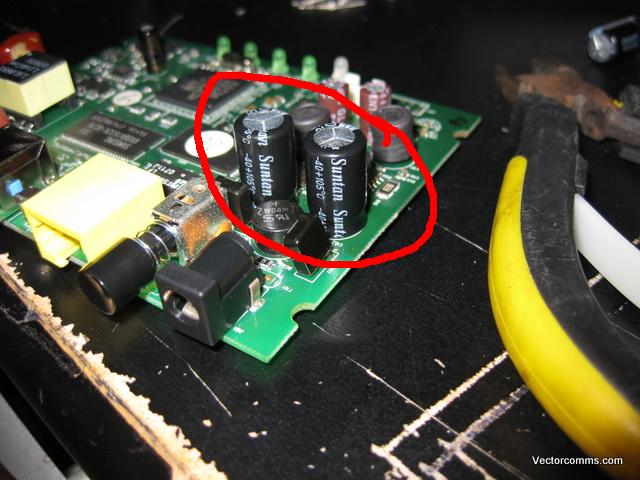
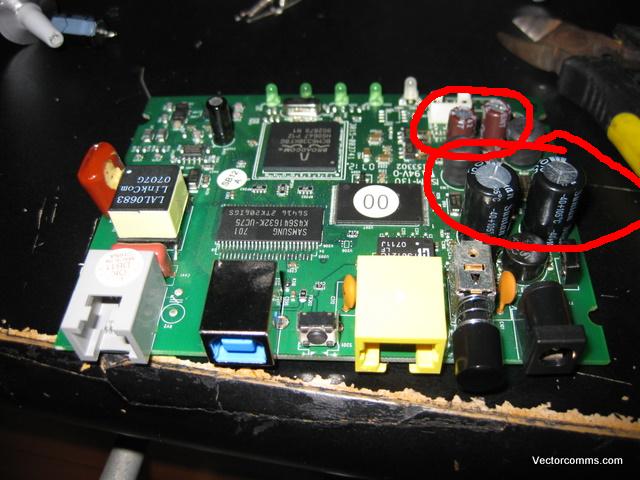
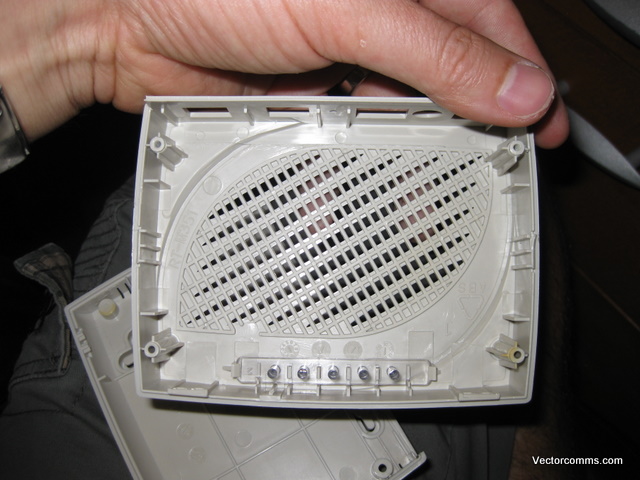
So I've had this dynalink modem for a few years now. It has really been great, even exceeding the line stability of a Cisco ADSL 1800 router I was using for a while. While I was poking around behind my PC one day I knocked the modem off the back of the PC. Needless to say, after an extensive trouble shooting process I determined the problem was caused by the modem. Strange I thought. The LEDs were now showing some bizarre display, depending on how I whacked the modem (a tried and true diagnostic test). First I was thinking the AC power adapter was dead, also another good assumption. Initial tests with the multi-meter confirmed my suspicions. I'd dug around for half an hour and found a suitable substitute, plugged it in and nothing! not a peep. Further inspection of the original power adapter showed it it has an AC output. Second check of the power adaptor, with multi-meter set to AC this time, shows power adaptor is working perfectly! So not to be outdone, and being lateish on a Saturday with all available shops that sold ADSL 2+ modems shut, and feeling disconnected from the universe, I decided to pop the lid and take a look inside! Once it was open, it took me about 10 seconds to see my problem - http://en.wikipedia.org/wiki/Capacitor_plague The old dodgy capacitor problem. I was actually pretty excited because I knew I might be able to fix it myself. I quickly jotted down the exact values of the capacitors, headed down to the nearest Jarcar and bought a few replacements about 10 minutes before they shut.
After careful extraction of the old CAPS (industry talk for capacitor :) and insertion of the new ones she fired up and was working as good as new. With a total cost of approx $3 AUD (I bought extras) I was very happy with this result!
Pictures of the
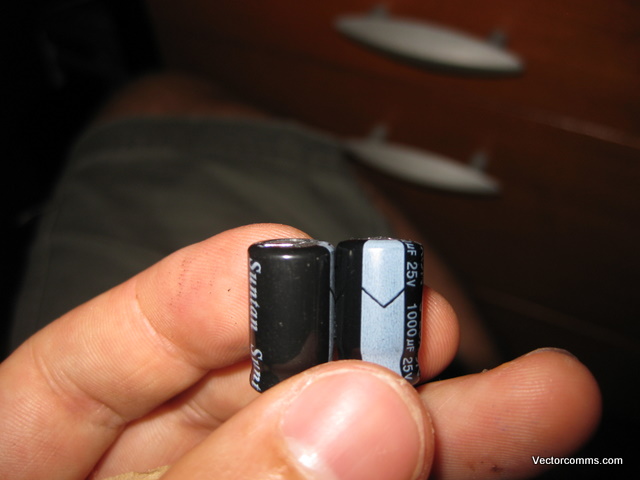
Comparing an old cap with a new one. Notice the slight bulge on the right cap. That's all it took!
There was slight discoloration on the inside and outside of the case, bit hard to see in the photo. I suspect the caps were getting quite hot. A few tips I can give for a successfully repair:
Good luck! David Treacy
|
|
|
|
||